
I wanted it to be red or have some kind of cuteness. I did look alot of places and could not find what I needed. I was a little irritated. Then one fine day I had a thought. Why not use some left over fabric and do some embellishing? I got right on it. Took the shade off, isn't it pretty...

Got out the fabic and ribbon I wanted to use...

Cut the fabric into 1 inch strips...

Okay, right here I have to start appologizing for the nasty quality of my pictures. I didn't realize they were blurry until I put them on the computer. Please, please be nice. I know they are bad.
Next, you fold the strip over and start rolling. (Have you ever made ribbon flowers? That is what you are doing, but with fabric.)


Keep rolling and twisting it so it looks like a sweet roll. Then when it is the size you want, you can cut the end off...

Take out the trusty glue gun and smother the bottom of the fabric, that you have rolled into a flower, with glue and stick it on the shade.


Now, just to warn you, I wish I would have planned things out a little. But, I just started sticking roses on and making this cluster of flowers. Now that I look at it, I wish that maybe I would have just done the same thing on top that I did on the bottom.
Now for the leaves, I just cut a green ribbon, that I already had from another project, about 2" long.

Fold it over on itself and glue with glue gun. Then it will look like this...

This is what I used for leaves. I just stuck them wherever I thought I needed them.

For the bottom, I ran the ribbon all the way around the bottom edge.

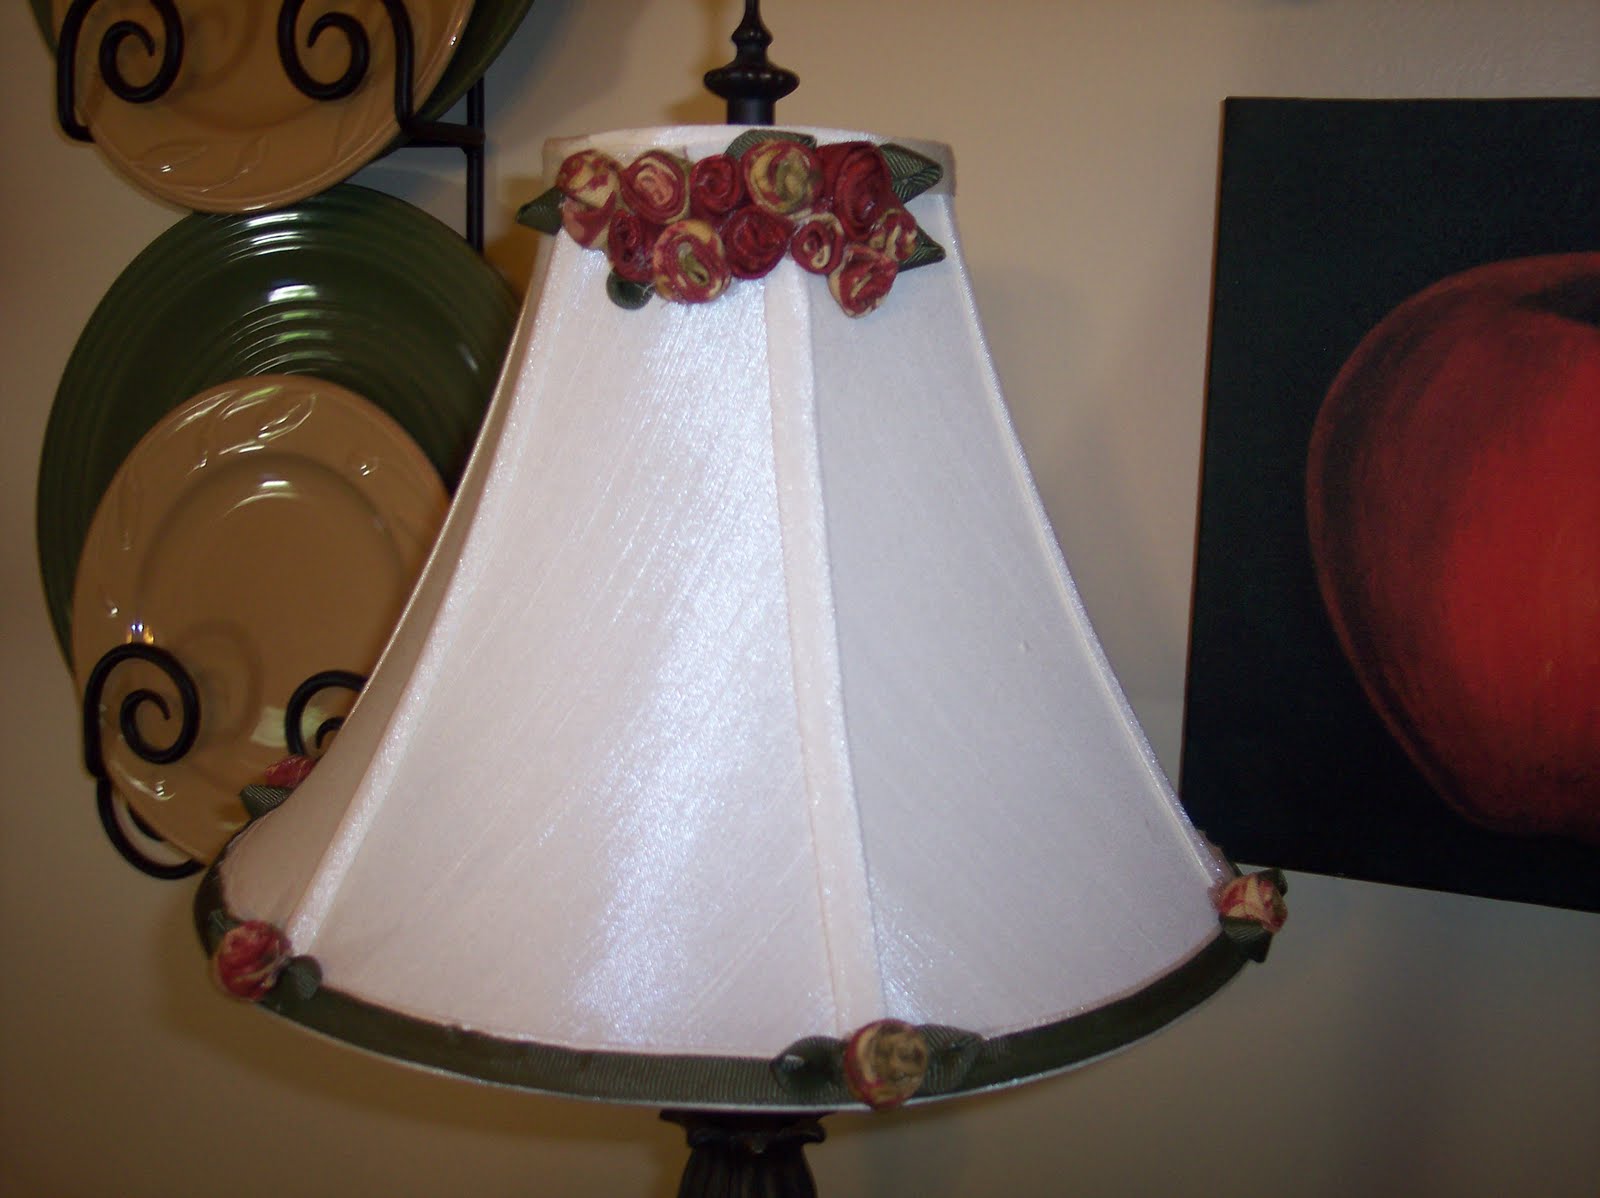
Then on the spines running down the shade I put a fabric flower and leaves...


I really like how it turned out. Here it is now...

Again I have to apologize for the photo's.
Have a great day.
Brooke

Very cute! That was a great idea to dress up a lampshade - totally unique and inexpensive too - two of my favorite things!
ReplyDeleteI love how the lampshade turned out! What a great way to add some character to an otherwise boring white shade. Thanks for stopping by and visiting my blog.
ReplyDeleteWow that looks great!!!!
ReplyDeleteYour lampshade looks fabulous. I can't believe you made those tiny roses, they are all so pretty. Great tutorial too.
ReplyDeleteI am not very tech savvy, so the only way I know to get a button is to right click and copy and then past it to my pics in my computer. Than I can retrieve it from there. Hope this helps. Hugs, Marty
How cute! I have yet to make some fabric flowers but it looks like instant gratifictation. Your shade looks happier in it's spot now!
ReplyDeleteOh my gosh that is so cute...I loved it. I am having a before and after party as well going on right now...I would love for you to join in...also every Friday I have a garage salen party if you are into thrifting. Hope to see you soon. Debbie
ReplyDeleteThat turned out really cute!
ReplyDeleteThe photos are fine! What a neat idea ~ I didn't realize where you were going with this at first {thought yu were going to recover the whole shade}. Love the outcome!
ReplyDeleteThat turned out super cute!!
ReplyDeleteStopping by from debbiedoos! What an awesome transformation!! Love what you did with that lamp shade! I just did some burlap ones as well!
ReplyDeleteThat is so beautiful! I can't believe you made those yourself! Somehow I think if I attempted that it would turn into a sticky, glue-y disaster!!!
ReplyDeleteGreat project!
ReplyDeleteHow cute is that! It looks lovely with your wall decor. Very tres chic!
ReplyDeleteI love it!! Really perks it up and imagine how much that would have cost if you'd bought it that way!
ReplyDeleteOh it's so pretty. I think you did such a nice job. You should be proud of yourself. :)
ReplyDeleteThanks for linking to Transform Tuesday. I can't wait to see what you link up next.
So cute, I love it!! What a difference it makes :) Great job!
ReplyDelete