Friday, July 30, 2010

A prettied up lampshade

I looked everywhere. This lampshade was driving me crazy.
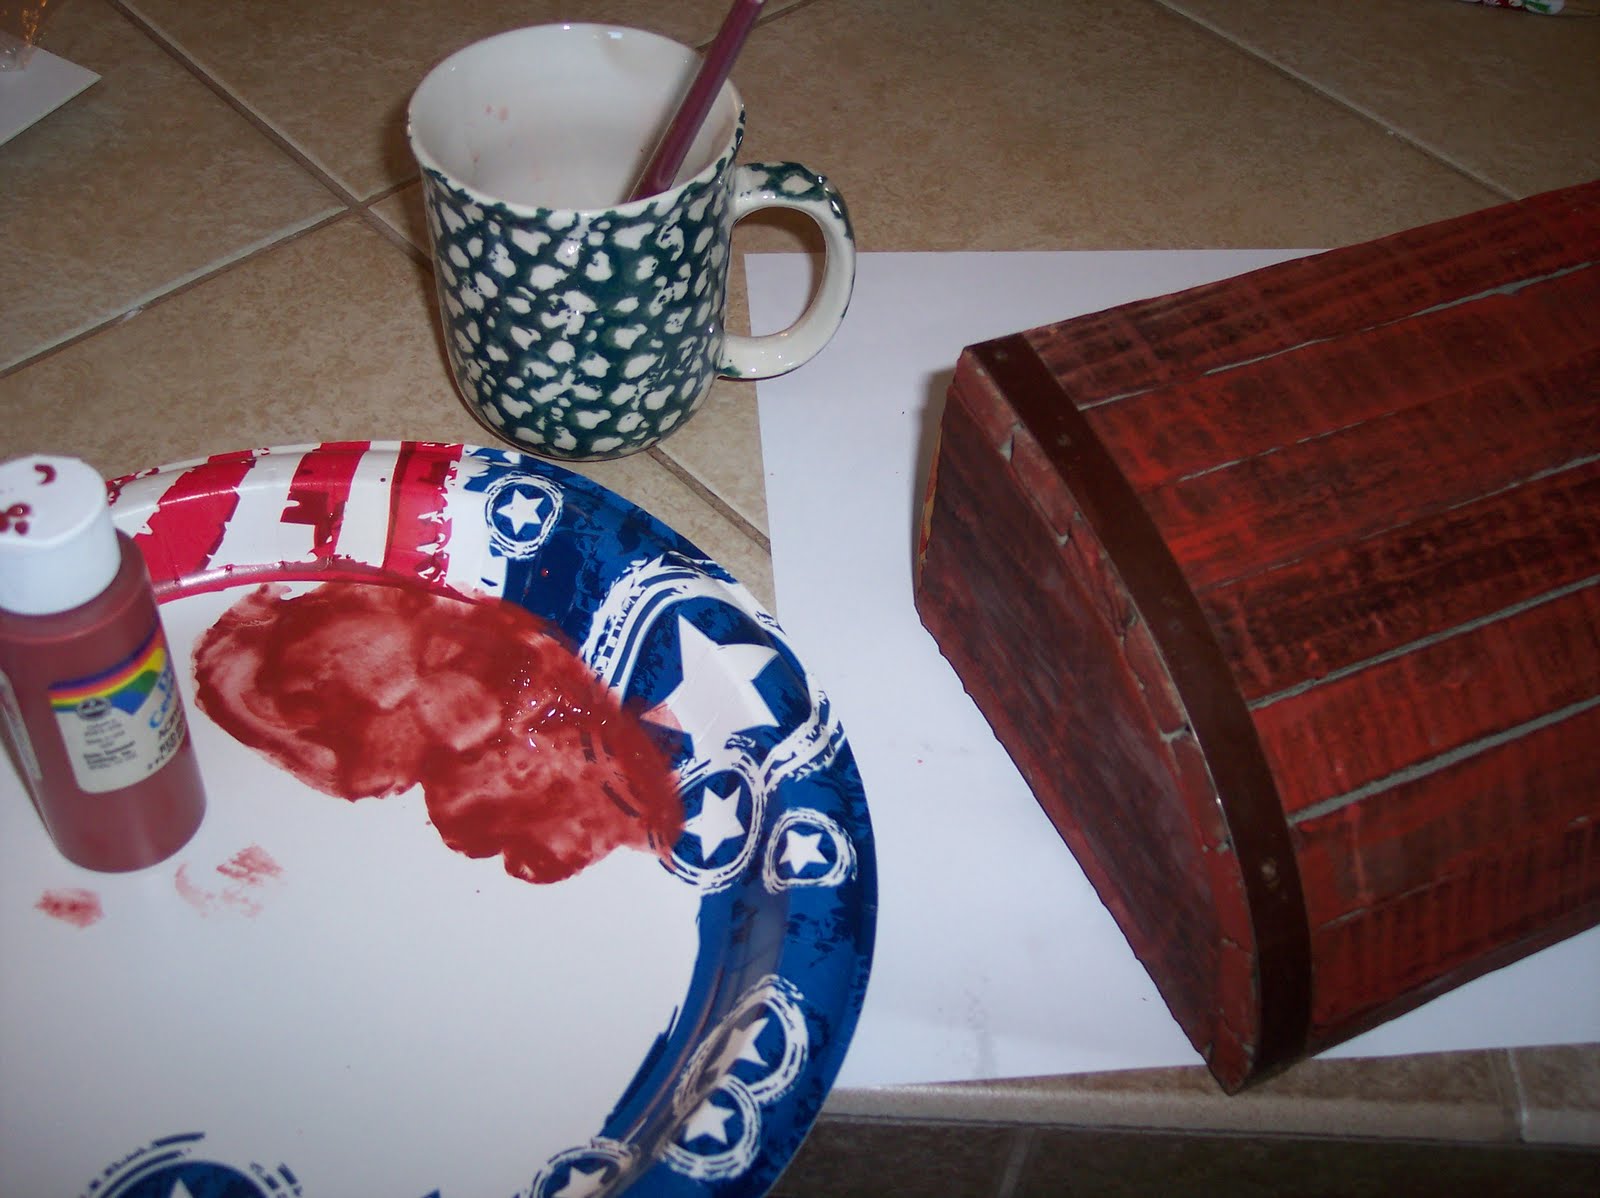
I wanted it to be red or have some kind of cuteness. I did look alot of places and could not find what I needed. I was a little irritated. Then one fine day I had a thought. Why not use some left over fabric and do some embellishing? I got right on it. Took the shade off, isn't it pretty...
Got out the fabic and ribbon I wanted to use...
Cut the fabric into 1 inch strips...
Okay, right here I have to start appologizing for the nasty quality of my pictures. I didn't realize they were blurry until I put them on the computer. Please, please be nice. I know they are bad.
Next, you fold the strip over and start rolling. (Have you ever made ribbon flowers? That is what you are doing, but with fabric.)


Keep rolling and twisting it so it looks like a sweet roll. Then when it is the size you want, you can cut the end off...
Take out the trusty glue gun and smother the bottom of the fabric, that you have rolled into a flower, with glue and stick it on the shade.


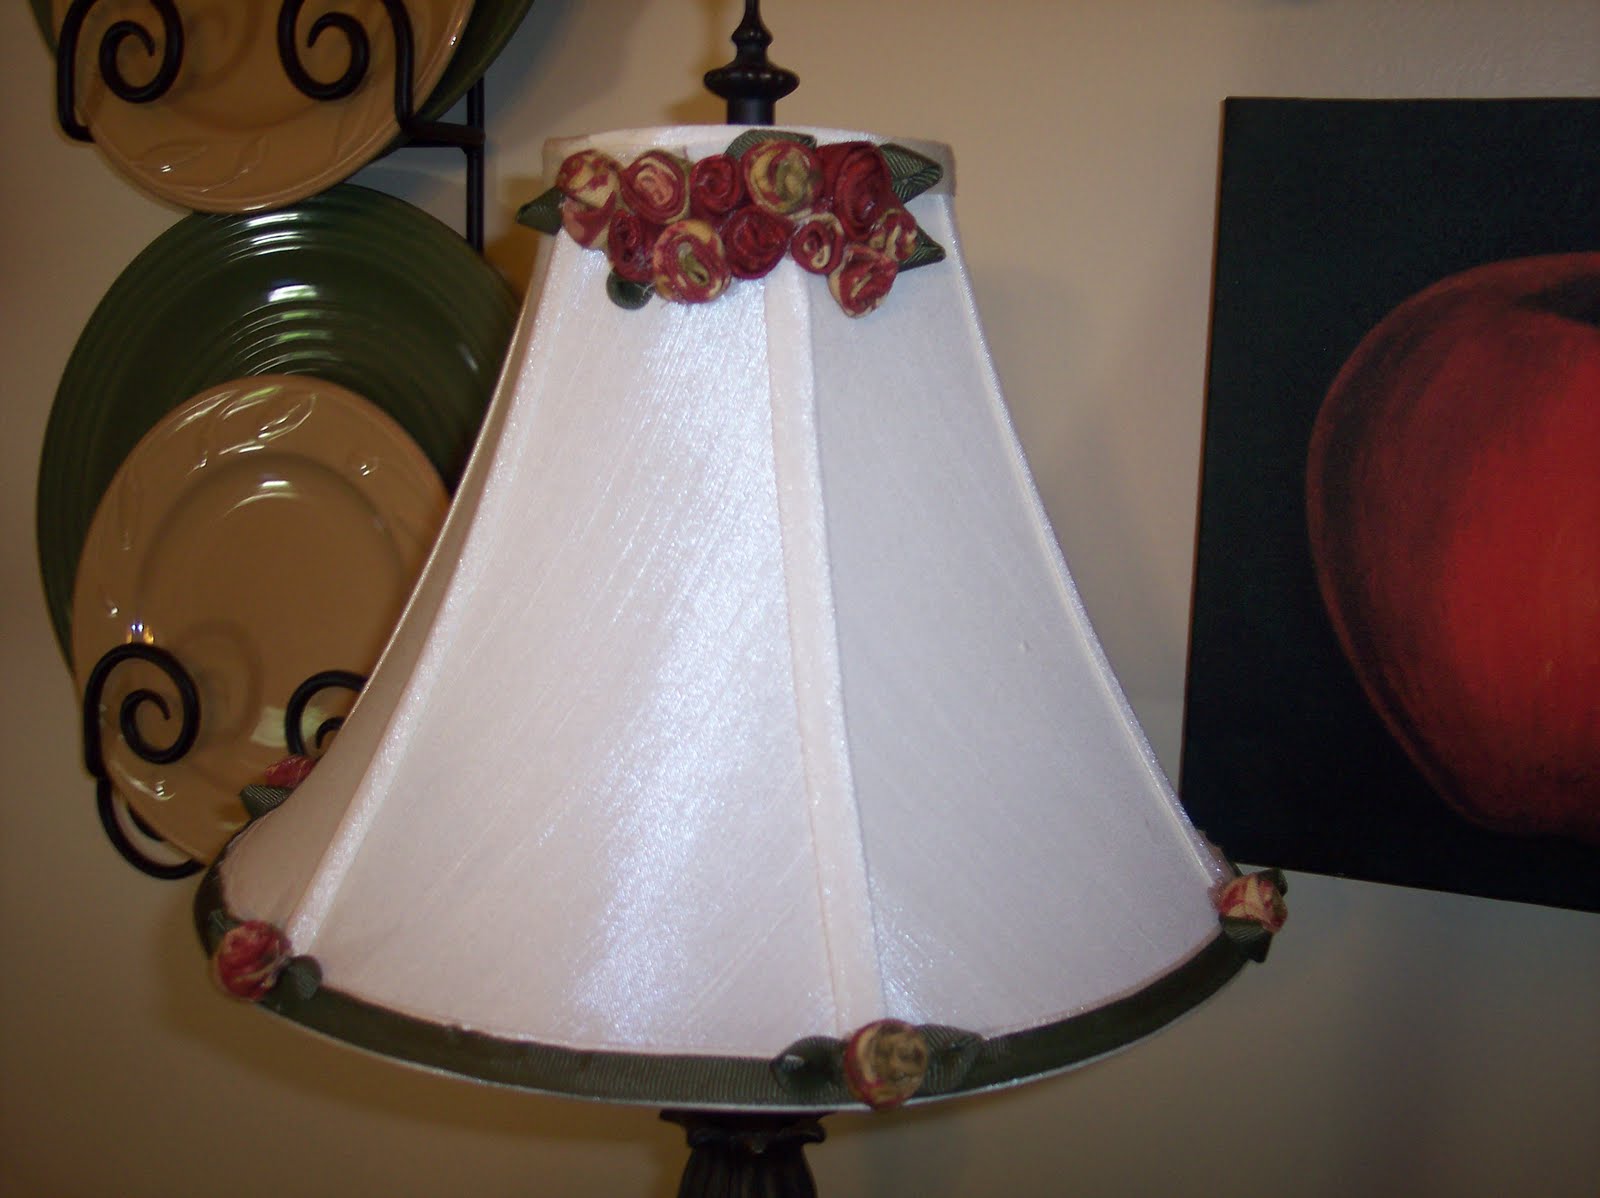
Now, just to warn you, I wish I would have planned things out a little. But, I just started sticking roses on and making this cluster of flowers. Now that I look at it, I wish that maybe I would have just done the same thing on top that I did on the bottom.
Now for the leaves, I just cut a green ribbon, that I already had from another project, about 2" long.
Fold it over on itself and glue with glue gun. Then it will look like this...
This is what I used for leaves. I just stuck them wherever I thought I needed them.
For the bottom, I ran the ribbon all the way around the bottom edge.
Then on the spines running down the shade I put a fabric flower and leaves...

I really like how it turned out. Here it is now...

Again I have to apologize for the photo's.
Have a great day.
Brooke


Photobucket


Tuesday, July 27, 2010

A little accessorizing always helps.

I'm about done messing with my office nook. I bought a few things to accessorize the top of the cabinets and on the shelf. I bought the red tin vase and the black box that says Dream on it at Tia Pan. The other things I already had. The box with the old post office box door my brother built for me. When they built a new post office in his little town he got a few of the old boxes. I love how it is a combination lock and not a key .


Ya, I know you can't read the "Dream" because of the little wood rail. I thought about ripping that off but I don't know. I raised the box up by setting it on a book but that still didn't help. Oh well.
Before...

After...

Now for the shelf...
I bought a few things here also. The black box came from Walmart, the little topiary and the calendar came from a new store I found called Real Deals.
And the ugly thermometer we had. It has to stay. We do use it alot to see how hot it is. But we have never figured out how to set the clock so it is an hour off. So I have another clock hanging on the wall that I already had.


So, since we are rounding this little makeover up, let's see some before and afters of the whole thing...
Before
After
Before
After
Before
After

I really enjoy this space now that it is cleaner, more organized and cuter.
Thanks for stopping by.
Brooke


Monday, July 26, 2010

Where do you put your paper?

Where do you put your paper for your printer? I found a solution, for me and my limited space, that I thought I would share. This is it...
I actually built this before my blogging days and have never finished it. See here it is as I was using it under the printer...
I used to have the printer on the counter and the paper in a pile in front of it. As you can see, I don't have alot of space so every bit of counter is sacred. So I ran off to Home Depot and bought a 1x12x4 pine board. I cut 2 pieces 4 inches long for the legs and the top measures 19 inches (long enough for 2 packages of 8x11 paper). I nailed the legs on and then for support I used a 1x2 board under the top and between the legs for support. I already had that board but you can also buy those at Home Depot. Then a little black spray paint...
This height makes it so I can still open the printer top without hitting the top cabinets.
It was a great solution for me and my space problem. And now it looks much better painted.

Have a great day!

The Girl Creative
Keeping It Simple
Tuesday, July 20, 2010

Incoming mail...Home office makeover

I'm getting a few things done. I completed another one of the need to's today. This is where our incoming mail goes...
It hangs on the left wall. If you look at this picture you can see it there...
Well now that I am fixing up around this area, I needed to get rid of the moose and tree and try to match my new decor. I decided to remove the metal moose and tree. It was rather easy they just pulled right off..
Since I am trying to bring red over to this "office" I thought I would paint it red. I watered the paint down alot and brushed it on.
This is what it looks like...
Still a little boring... It needs something on the front. Remember the fabric from this project...
I cut a little section of flowers out...
Dug out the Mod Podge, and glued it to the front...
When it dried the edges were a little frayed or ragged so I just went around the edge with a black paint marker. It kinda cleaned the edge up a little.
I also spray painted the brown metal bands on it black, but forgot to take pics of that. So here is what it looks like back in its place next to the new bulletin board...

Things are already looking better with just these two changes. But I've got more much more to do.
Thanks for stopping by.

The Girl Creative