


I think it needs some help. I got all "Gung-ho" and thought I would paint the cabinets and walls. Hubby put the "Kabosh" to that. Soooo I thought, it still needs some serious help. I have several projects that I will post seperately. But I did get started today.
I was looking for ideas online and ran on to a cute idea from Better homes and gardens site. (www.bhg.com) I wanted something on the back wall behind the computer screen. So these bulliten boards will work great.
I started with 2 11x14 frames. One I had and the other I got at Joann's for $6.99. I spray painted them black along with some thumb tacks.


Using the cardboard insert in the frame, I cut foam core to fit in the frame.

Then I cut the fabric I got at Joann's, (1/2 yard for $5.00) a little larger that the foam core. Glued it with, what else, the trusty glue gun.

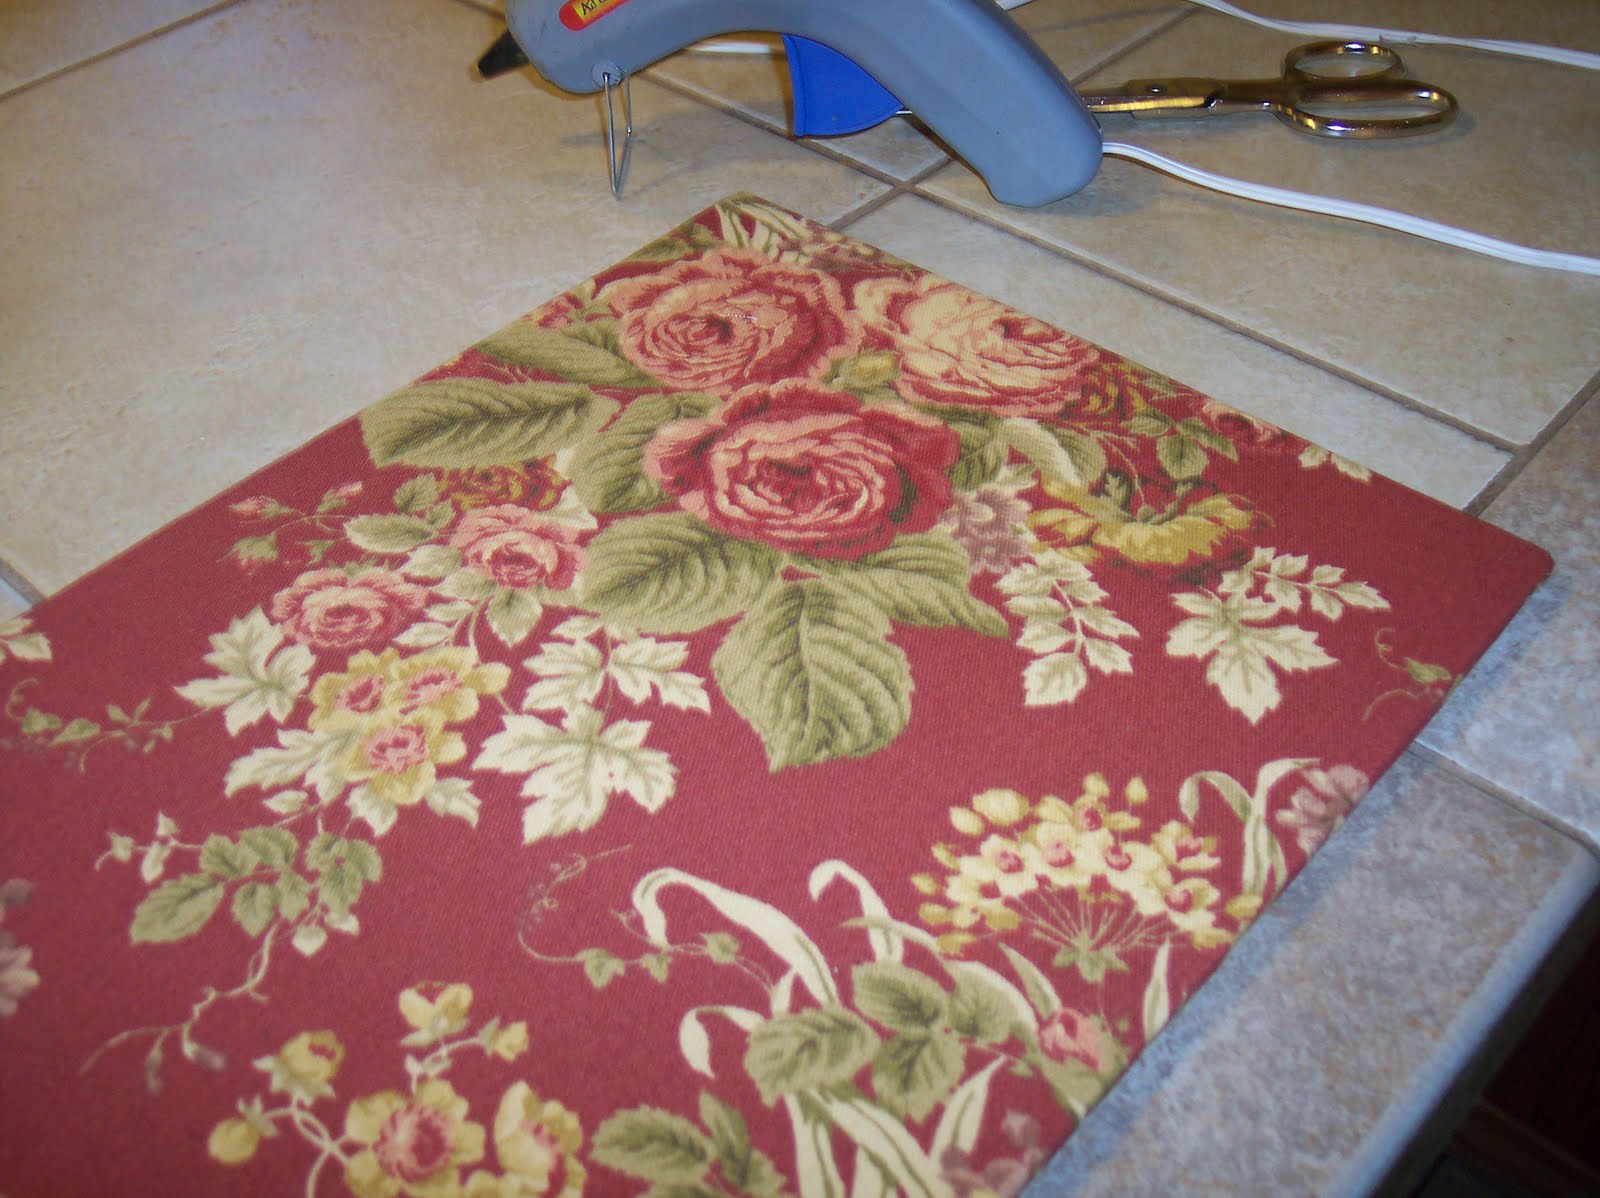
The I laid out how I wanted the ribbon to be on the bulliten board and glued them down on the back with the glue gun.

Then I stuck in the black (spray painted) thumb tacks wherever the ribbons crossed.


Then it was ready for the frame. Stick it in and wa-la! I love how it turned out.

I was so excited to hang them. Here is the one on the left.

And the one on the right. It has to sit behind the printer but it still works great.

Um, just in case I was able to convince hubby that the cabinets need painting...what would you suggest? Just asking?
Brooke

I love that, Brooke! It's beautiful.
ReplyDeleteI hopped over here from Hope Studios...this turned out wonderfully! I can't wait to try it myself! Thanks for the inspiration :)
ReplyDeleteVery nice!!
ReplyDeleteI would go black on the cabinets!!
Very cute! I love that little desk area you have. As far as painting the cabinets, unless your hubby thinks they look outdated (which personally I think they look really nice) it might be tough to sell him on painting them. Paint is perfect when cabs are outdated since it's so cheap. Maybe you could try new hardware first to see how that changes their look?
ReplyDeleteI love how it turned out too. Projects that are practical AND beautiful like this one are fabulous! Love the fabric you used -- that red with a touch of green is fantastic against the green wall.
ReplyDeleteI love how the boards turned out. What a perfect place to put them too. I'm excited to see the changes in this area. Thanks for joining We're Organized Wednesday. Have a great day!
ReplyDeleteOh! I think those frames look great in the desk area!! great idea to use the foam board,too!
ReplyDeleteInstead of painting the cabinets, I've been thinking of glazing mine instead... don't know how to do it yet so maybe you'd like to try it out first and let me know : ) good luck with your other projects!
Don't you just love it when projects go smoothly! :)
ReplyDeleteYou did a great job, and explained how you did it very well. I like how you painted the thumb tacks! :)
thanks for stopping by my blog and leaving a comment. I'm off to look around some more.
gail
Cute, practical, easy! Love those types of projects. And the fabric is beautiful.
ReplyDeleteI’m having a new link party “Cheap Thrills Thursday” starting the 29th. It’s for creative ideas that cost under $20. If you have a project you’d like to share, I’d love for you to stop by and join in!
Kat
www.BlackKatsDesign.blogspot.com
Thanks for linking up to the “Cheap Thrills Thursday” party at Black Kats Design. I hope you had fun and will join in again next Thursday!
ReplyDeleteKat
www.BlackKatsDesign.blogspot.com
This comment has been removed by the author.
ReplyDeleteThanks for sharing about home office closet organizers. It looks really amazing. Keep putting up more.
ReplyDelete